
I have found Kimmy Cantrell to be a great artist to build a unit around. Kimmy Cantrell is a modern, African-American artist who creates these wonderful faces that can be used to teach so many concepts.
Take a look at his video where he talks about his work and then, click on the link to visit his web site. I hope you can find his work as inspirational for your students as it has been for mine.
Artist Info on Kimmy Cantrell

I introduced my students to Kimmy Cantrell's work by creating a large bulletin board of pictures of some of the many faces Cantrell has created. I also included some of the inspiration for Kimmy Cantrell's faces on the board, work by Picasso and African Masks.

 This board became a 'discussion' board as we looked at how students used shapes, lines, and colors. The faces created by Kimmy Cantrell are great for talking about the difference between symmetry and asymmetry.
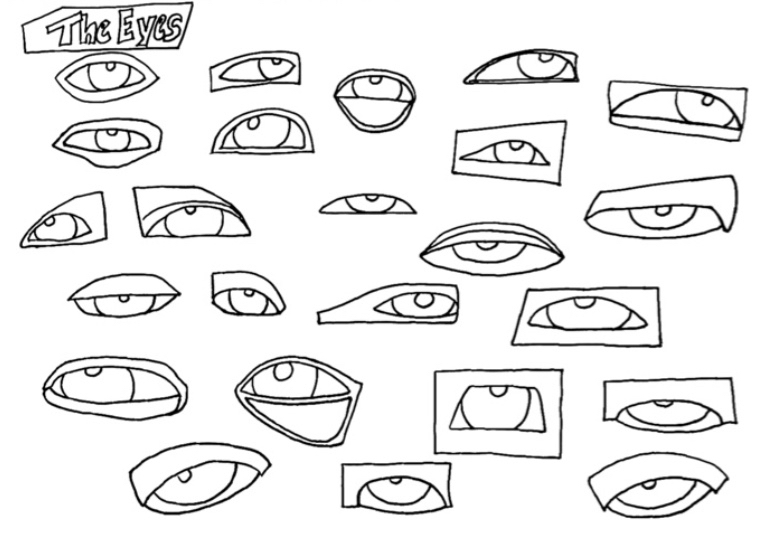
 We broke down the faces into basic shapes and then we looked at how the faces were broken down into different shapes and/or color fields. From there, we looked at the shapes of the eyes and how they were placed on the faces, often asymmetrical. The noses usually were long and had only one nostril and the lips were usually red with a black outline.
 To begin to understand how these faces were basically clay collages, I had students practice creating the faces using shapes that I created based on the Cantrell faces. The face shapes were laminated and students were able to either work independently or in pairs to create "Kimmy Cantrell" faces. Due to the levels of my students, I use astep-by-step direction sheet with check marks that can be moved as each part of the face is added.
Once the students have a good idea of how we want to create our Cantrell faces, I give the students templates that can be traced on bright fadeless paper and construction paper. Students can cut and create their own shapes or they can use the templates provided to trace their shapes. Some students need help with tracing and some students need help with cutting. With the use of the templates and check sheets, everyone, regardless of their fine motor skills or cognitive abilities can be successful with this task and have a sense of independence.
Now that the students have created their faces using paper collage, the next step will be to create their faces as a clay collage using shape, color, and texture. They will have the option of using the templates or creating their faces with their own free form shapes.


