The new school year is well underway, so I think I'll just jump in and share what I'm working on today.
I have been collecting a lot of bookmarks on my laptop for useful sites that I refer to when I have questions or if I'm just looking to better understand my students and what strategies work the best for them. So, I went back to Live Binders, which is a pretty cool site for putting a lot of info in one place. I use Google Drive for a lot of things and I use my One Drive for a lot, but sometimes I don't want to leave those accounts open in a classroom setting, so I like the idea of just having the Live Binder available and nothing else. Here is the Link to my Live Binder: Speak Art Loud! Teaching Art to Students with Autism; http://www.livebinders.com/play/play?id=2270518&present=true
I hope this is useful for you. If you have LiveBinder ideas that you'd like to share, I'd love to see them!
If you're like me, you find yourself looking at the calendar in disbelief right about now. I am always amazed at how crazy the end of the school year is and how crazy the summer can be. If you put those two factors into the mix, you find yourself going into overdrive! Don't get me wrong, I've been working on things for my classroom all summer. Let's face it, my summer pace is much different and there is not that sense of urgency that you feel in August!
I'm very excited about this next year! I feel I learned a lot this last year and I've got so many ideas of how to make things better for my students and better for the adults in the room.
I've read a couple of books that have really made me look at everything I do in the classroom. I think the number one thing I need to work on is making sure every student gets the time they need. That means the adults in the room need to slow down and give everyone the processing/responding time they need when they are creating their artwork. I worked very hard to stress the importance of letting the students do the work, even if they need asistance. But I feel there is more that can be done. It is so important that the choices the students make in art are really their choices.
I know, I found myself trying to help students to 'hurry along' with choices when we were creating artwork and I saw others trying to hurry along the students. Why? Why do we allow ourselves to get caught up in some arbitrary deadline for finishing a piece. Artists typically decide when a piece is complete. My student artists deserve to have the time they need. This means that not everyone will finish at the same time. That shouldn't be a problem.
When you come to my art room, I hope you see my students all aiming for the same destination, but arriving via different vehicles. I need to find a balance between teaching new skills and mediums and allowing students time to explore. I'm especially concerned about making every effort to afford opportunities for my non-verbal students to make choices. I don't know what this looks like exactly, but I'm thinking there will be a combination of ideas from TEEACH and TAB, using IEP Bins, Work Bins, and Activity Folders, as well as a Today in Art folder that is unique for each student.
I have found Kimmy Cantrell to be a great artist to build a unit around. Kimmy Cantrell is a modern, African-American artist who creates these wonderful faces that can be used to teach so many concepts.
Take a look at his video where he talks about his work and then, click on the link to visit his web site. I hope you can find his work as inspirational for your students as it has been for mine.
Artist Info on Kimmy Cantrell
I introduced my students to Kimmy Cantrell's work by creating a large bulletin board of pictures of some of the many faces Cantrell has created. I also included some of the inspiration for Kimmy Cantrell's faces on the board, work by Picasso and African Masks.
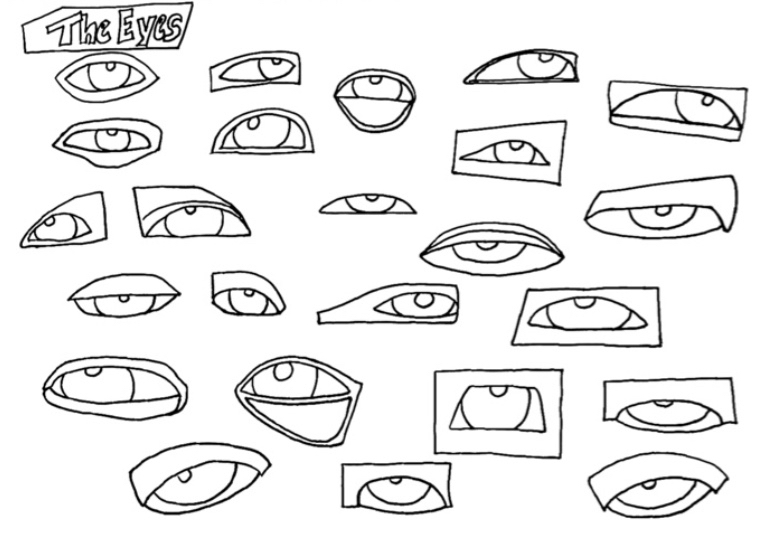
This board became a 'discussion' board as we looked at how students used shapes, lines, and colors. The faces created by Kimmy Cantrell are great for talking about the difference between symmetry and asymmetry.
We broke down the faces into basic shapes and then we looked at how the faces were broken down into different shapes and/or color fields. From there, we looked at the shapes of the eyes and how they were placed on the faces, often asymmetrical. The noses usually were long and had only one nostril and the lips were usually red with a black outline.
To begin to understand how these faces were basically clay collages, I had students practice creating the faces using shapes that I created based on the Cantrell faces. The face shapes were laminated and students were able to either work independently or in pairs to create "Kimmy Cantrell" faces. Due to the levels of my students, I use astep-by-step direction sheet with check marks that can be moved as each part of the face is added.
Once the students have a good idea of how we want to create our Cantrell faces, I give the students templates that can be traced on bright fadeless paper and construction paper. Students can cut and create their own shapes or they can use the templates provided to trace their shapes. Some students need help with tracing and some students need help with cutting. With the use of the templates and check sheets, everyone, regardless of their fine motor skills or cognitive abilities can be successful with this task and have a sense of independence.
Now that the students have created their faces using paper collage, the next step will be to create their faces as a clay collage using shape, color, and texture. They will have the option of using the templates or creating their faces with their own free form shapes.
Stilts seem to be in short supply for my ceramics program. I know you can use shards of broken ceramics, etc., but I really prefer the stilts. So I used my Amazon app and I purchased my stilt pins from National Arcraft. They sell ceramic and pottery heat tolerant stilt pins for making kiln firing supports, in pkg. of 500 pins for $21.50. I purchased 500 pins.
I wasn't sure the best sizes or shapes to create, so I just thought about what is the trickiest to fire and I found that the smaller pieces that students make are often more difficult for the students to glaze without getting glaze on the bottom. These are the pieces that would really benefit from being fired with stilts.
To make the stilts, I basically rolled out slabs and cut the base shapes that I wanted and then inserted the pins. I used the bottom of a cup to lightly press on top of the pins in order to have the pins all pressed down in the clay to a level height with one another.
I created stilts in squares, triangles, circles, and long, narrow rectangles. After the stilts had all dried to bone dry, I put the stilts in with a bisque fire at cone 06.
Now, when I need stilts, I have plenty! When I use the stilts for glaze firing, I brush kiln wash on them, being sure to coat the metal pins. They really work well. If I had more time, I could buy the wire and cut them myself, but right now, I just don't have that kind of time! The stilts are working well and I would recommend you giving this method a try if you need more stilts for your classroom.
I came across this post on a blog (Teaching Learners with Multiple Needs) and I think it is something everyone needs to think about. Working with my 14-21 year old students, this is something I think about a lot. Check it out!
I have just started working with my students on a clay project based on the Amaco Food for Thought lesson plan. (You can find it on the Amaco website, Amaco Lesson Plan) I am finding this is a great project for my students, regardless of their skill level. It provides a great culminating activity for the basic skills they have learned.
The thing most intriguing about this project is the fact that students can make very basic shapes and forms for food items. It is the size, placement, and textures that make them recognizable as food items. The next step will be adding additional details through glazing.
To manage the project with the diverse needs of the students, I have stations that are utilized for various skills that are needed. Students work at the stations with a para-educator on skill building while I work with 2 or 3 students at a time building the clay food items. The skills at the stations are making a reference book of food to work from, creating food forms by looking at the reference book, creating food textures by looking at the reference book, and matching food colors with color mixing by looking at the reference book. All of these stations are important to the success of the project.
I am excited to see how this project comes together. We will have an exhibit when we are finished, "Artful Feast."The students are all very excited to see what they can make!
I just created a project for funding on the Art Room Aid site and my fingers are crossed! With the addition of a slab roller, I think clay will be just that much more accessible for my students. I have some students who do not have the hand and/or arm strength to roll their own slabs. It's not that they do not try, they just need a little help!
Check it out! I'll let you know how it goes! http://www.dickblick.com/ara/lists/7257/home